Follow Me On Social Media!
The Retro Dessert I’m Making on Repeat This Holiday Season
Introduction to The Retro Dessert I’m Making on Repeat for the Holidays
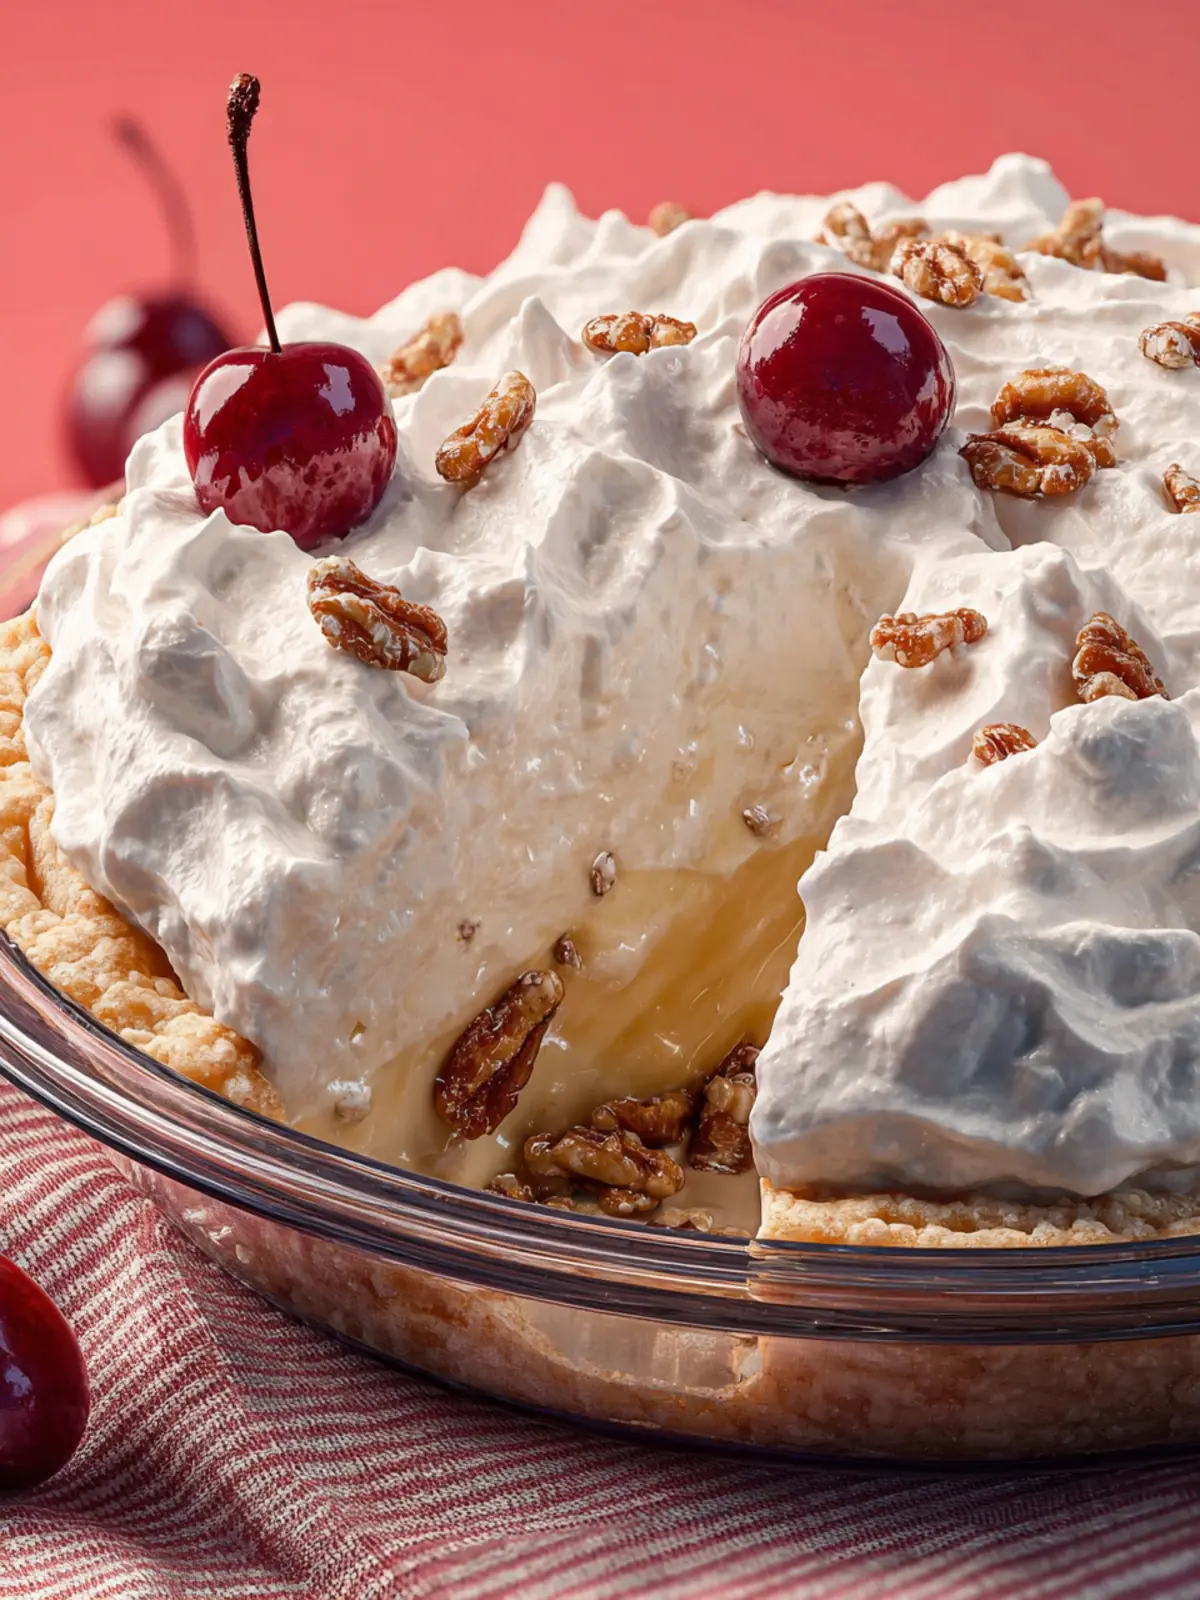
When the chilly air of the holiday season rolls in, there’s something undeniably nostalgic about indulging in the retro dessert that has graced my family gatherings for generations. This delightful treat, reminiscent of my childhood Christmases, embraces the warmth and love that often define our holiday celebrations. I can still see my grandmother bustling around the kitchen, ensuring each layer of her famous dessert was just right, a labor of love that filled the house with tantalizing aromas that drew everyone in.
A sweet trip down memory lane: Why this dessert brings joy during the holidays
What makes the retro dessert truly special goes beyond its taste; it’s a treasure trove of memories wrapped in cream and sweetness. Each bite transports me back to chilly evenings spent with family, gathered around the table, laughter echoing as we savored this delectable creation. I often wonder if it’s the exact combination of flavors or just the sheer nostalgia that evokes such joy. Perhaps it’s both.
As the holidays approach, many of us search for ways to connect with our roots and share our past with friends and loved ones. This dessert encapsulates that spirit perfectly. With its blend of rich flavors and classic presentation, it stands as a testament to cherished traditions and shared experiences.
- Comfort: The familiar taste reminds us of home, evoking feelings of warmth and belonging.
- Tradition: Handing down recipes reinforces family ties and creates a way to honor those who came before us.
- Joyful gatherings: This dessert often finds its way to festivities, bringing smiles as it’s sliced and served, inviting everyone to gather around.
So, get ready to roll up your sleeves and step into the heart of the season with me as we dive into making the retro dessert that I can’t stop repeating during the holidays. Let’s create moments that are sweet, unforgettable, and sprinkled with love!
Key Ingredients for The Retro Dessert
To craft the retro dessert, a delightful throwback that captures the essence of holiday nostalgia, you’ll need to gather a handful of essential ingredients that bring warmth and flavor to your festivities.
-
Butter: The cornerstone of the retro dessert, butter adds richness and a luxurious mouthfeel. Use unsalted butter for the best control over your sweetness and saltiness.
-
Granulated Sugar: Sweetness is paramount, and granulated sugar creates that perfect balance, enhancing the dessert’s overall flavor profile.
-
Eggs: They offer structure and moisture. I use large eggs, which contribute to the airy texture we crave in a holiday treat.
-
All-Purpose Flour: This versatile ingredient provides the backbone of the retro dessert. It helps achieve that delightful crumb while ensuring a tender outcome.
-
Milk: Adds moisture and richness. You can opt for whole milk for a creamier result or a plant-based alternative if you prefer.
-
Baking Powder: Necessary for that light and fluffy texture, baking powder ensures the dessert rises beautifully in the oven.
-
Vanilla Extract: A splash of pure vanilla extract elevates the flavor profile, making every bite a warm hug of nostalgia.
Gather these ingredients, and you’re well on your way to making the retro dessert a cherished part of your holiday celebrations!
Why You’ll Love This Dessert
A nostalgic favorite that’s easy to make (and customize!)
Imagine the warm, inviting scent of the retro dessert wafting through your kitchen, instantly transporting you back to family gatherings and holiday celebrations. This delightful treat not only brings a feeling of nostalgia but also convenience to your baking routine. Its straightforward preparation method ensures that even novice bakers can impress their friends and loved ones.
Why is this dessert so beloved? It’s incredibly versatile! You can easily transform it by incorporating your favorite flavors or seasonal ingredients. Maybe you want a hint of citrus? Add some zesty orange or lemon peel. Or perhaps you crave a touch of warmth? A sprinkle of cinnamon or nutmeg can take it to the next level. Customize it with toppings like whipped cream, fresh berries, or a drizzle of chocolate sauce to make it uniquely yours.
But the best part? It’s designed to be made in large batches, making it perfect for holiday celebrations or cozy evenings in. Sharing this retro dessert with family and friends means creating beautiful memories around the table. Trust me; once you’ve made this traditional delight, you’ll find yourself eagerly preparing it again and again during the holiday season!
Variations of the Retro Dessert
The retro dessert brings back such delightful memories of family gatherings and cozy holidays. It’s more than just a sweet treat; it’s a nostalgia-filled bite that rekindles warmth and joy. While the classic version never fails to impress, why not sprinkle in some creativity? Let’s dive into some exciting flavors and toppings to elevate your dessert game this season!
Flavors and Toppings to Try
-
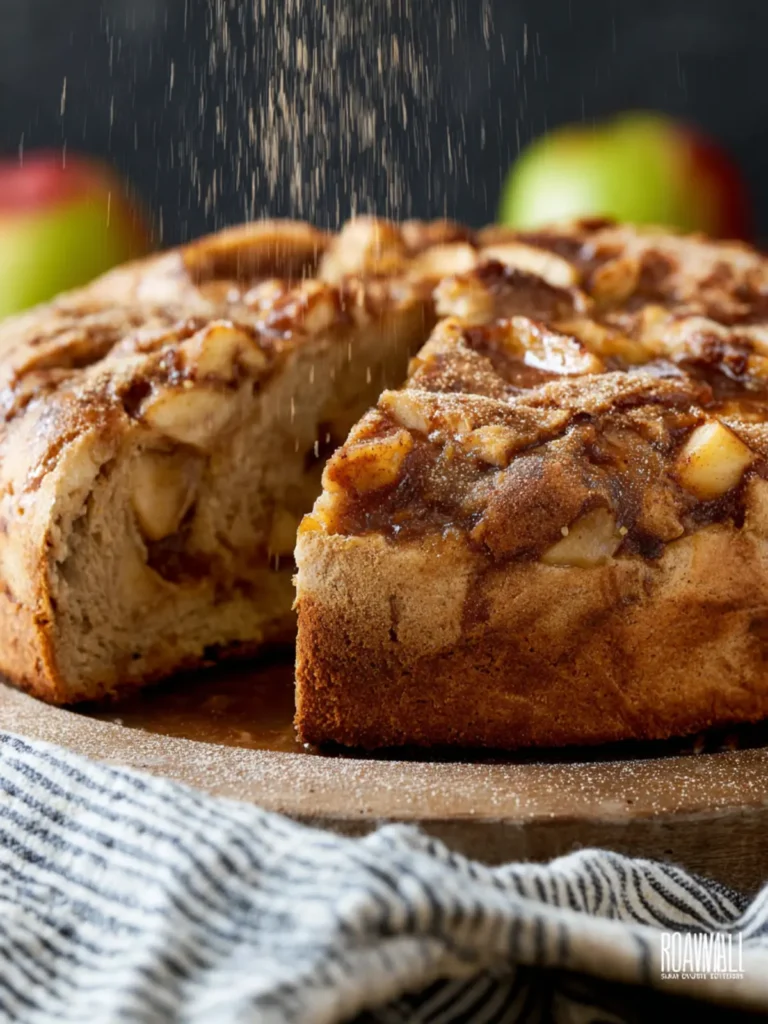
Spiced Apple Twist: Incorporate sautéed apples with cinnamon into the layers of your dessert for a warm, fall-inspired variation. The sweetness of the apples pairs wonderfully with the creamy base.
-
Tropical Coconut Delight: Add shredded coconut to your dessert mixture or sprinkle it on top for a tropical flair. It brings a chewy texture that complements the creaminess perfectly.
-
Chocolate Bliss: For those chocolate lovers out there, mixing in cocoa powder or chocolate chips can transform your retro dessert into a decadent treat. Top it off with a rich chocolate drizzle for extra indulgence.
-
Hazelnut Crunch: Crushed hazelnuts or a drizzle of hazelnut spread can add a delightful crunch and nutty flavor that will surprise and please your guests.
-
Citrus Zing: A touch of lemon or orange zest can brighten the whole dessert, balancing the sweetness and adding a refreshing twist.
The beauty of the retro dessert is its versatility; the possibilities are endless! Experimenting with these flavors and toppings can make each batch unique, enhancing not only the taste but also the experience of sharing these culinary creations with loved ones. So, what will you choose for your next festive feast?
Cooking Tips and Notes for Success
When it comes to mastering the retro dessert you’re making on repeat for the holidays, a few simple tricks can elevate your creation from ordinary to extraordinary.
Easy tricks to elevate your dessert game
-
Select Quality Ingredients: Always start with the freshest ingredients you can find. For example, if your recipe calls for dairy, consider local options for a creamier texture. Quality ingredients make a noticeable difference.
-
Temperature Matters: Ensure your butter and eggs are at room temperature before starting. This allows for better emulsification, resulting in a smoother batter.
-
Don’t Overmix: It can be tempting to whisk until everything is perfectly smooth, but overmixing can lead to a dense dessert. Mix just until combined for a light, airy finish.
-
Flavor Boosters: Consider adding extra spices or extracts to enhance flavor. A touch of vanilla or a sprinkle of nutmeg can elevate your recipe to new heights.
-
Garnishing: When serving the retro dessert, a sprinkle of powdered sugar or a dollop of whipped cream can add that picture-perfect finish. It doesn’t just look good—it also adds a nice contrast in flavor and texture.
-
Tasting Notes: Always taste your batter before baking! Adjusting sweetness or adding a pinch of salt can transform your dessert into something that wows your guests.
With these tips in mind, you’ll be well on your way to creating the memorable holiday dessert everyone will be raving about!
Serving Suggestions for the Retro Dessert
When it comes to the retro dessert, presentation is just as important as taste. A beautiful display can make your dish the centerpiece of any gathering, sparking joy and nostalgia among your guests.
Best Ways to Present This Showstopper
-
Use Vintage Dishware: Embrace the nostalgic theme by serving the retro dessert in vintage glassware or ceramic plates. This not only enhances visual appeal but also evokes cherished memories.
-
Garnish Thoughtfully: Add a sprinkle of powdered sugar or a drizzle of chocolate or caramel sauce on top. Fresh mint leaves or seasonal fruits can also bring a pop of color and freshness.
-
Layer It Up: If the dessert allows, consider serving individual portions in small jars or cups. Layering the dessert adds an artistic touch, making it easier for guests to indulge.
-
Pair Unique Accents: Serve with a side of whipped cream or a scoop of ice cream for a temperature contrast that elevates the flavors. You can also present it alongside a festive beverage that complements the dessert.
Remember, the key to enjoying the retro dessert is not just in the taste but also in the delightful experience you create around it.
Time Breakdown for Making the Dessert
Creating the retro dessert is a delightful experience that can be slotted into your busy holiday schedule. Here’s how the time unfolds:
Preparation time
The prep for this dessert takes about 20 minutes. Gather your ingredients and have everything ready to go for smooth sailing.
Baking time
Once in the oven, this beauty takes approximately 30-35 minutes to bake to perfection. The wonderful aroma that fills your kitchen is worth the wait!
Cooling time
It’s important to let the dessert cool for about 15-20 minutes. This allows the flavors to set and makes for easier slicing.
Total time
In total, you’re looking at around 1 hour and 15 minutes from start to finish. Perfect for fitting into an evening of festivities! Enjoy the family memories you’ll create as you indulge in the retro dessert.
Nutritional Facts for the Retro Dessert
When you think of holiday treats, the nostalgic flavors of the retro dessert undoubtedly come to mind. It’s not just a visual feast; understanding its nutritional content can help you enjoy it guilt-free!
Calories
A serving of this delightful dessert contains approximately 300 to 350 calories. It’s rich, but a little indulgence goes a long way during the festive season!
Sugar Content
With a sugar content hovering around 25 grams per serving, moderation is key. But hey, life is all about balance, especially during the holidays!
Other Relevant Nutritional Information
This classic treat often includes wholesome ingredients that provide some nutrients:
- Fat: Roughly 15 grams, thanks to the butter or cream used.
- Carbohydrates: Approximately 40 grams, giving you that sugary burst of energy!
- Protein: About 4 grams per serving, mainly from eggs.
Enjoy this retro dessert, knowing it’s both a treat for the taste buds and a delightful way to reminisce.
FAQ about the Retro Dessert
As the holiday season approaches, the retro dessert you’ve chosen is likely to become a cherished part of your celebrations. With its rich flavors and nostalgic charm, it’s perfect for gathering around the table with family and friends. But even with an amazing recipe in hand, questions may arise. Here are some insights to help you make the most of your dessert experience.
How do I store leftovers of this dessert?
To keep your retro dessert fresh and delicious, store any leftovers in an airtight container at room temperature for up to three days. If you prefer longer storage, pop it in the fridge for up to a week. Just be sure to let it come to room temperature before serving—this helps to bring back that wonderful flavor and texture!
Can I make this dessert ahead of time?
Absolutely! The beauty of this retro dessert is that it actually tastes even better after sitting for a day or two. Make it in advance and store it properly. This not only saves you time on the day of your gathering but also allows the flavors to meld beautifully, creating a more indulgent treat.
What can I substitute for pecans?
If pecans aren’t your thing or if you’re dealing with allergies, there are other options. Almonds or walnuts make excellent substitutes, providing a similar crunch and nutty flavor. For a sweet twist, consider using crushed graham crackers or even a sprinkle of chocolate chips to give your retro dessert a different vibe altogether. Adjust the quantities to match your liking, and enjoy the fun of personalizing your dish!
Conclusion on The Retro Dessert I’m Making on Repeat for the Holidays
The joy of indulging in the retro dessert I’ve been making isn’t just about the delightful flavors; it’s about the memories and connections it fosters. As we gather around the table during the holidays, sharing homemade treats creates a warm bond with family and friends. My kitchen turns into a haven of laughter and shared stories – a true celebration of togetherness. This dessert is so versatile that you can customize it to suit your preferences or dietary needs. So why not whip up a batch, invite loved ones over, and share the joy of your homemade creation? It’s the perfect way to spread holiday cheer!
Print
Pecan Pie with Saltine Crust
- Total Time: 1 hour 37 minutes
- Yield: 8 servings 1x
- Diet: Gluten-Free
Description
This delightful pecan pie features a unique crust made from Saltine crackers, offering a sweet and crunchy texture that complements the creamy filling.
Ingredients
Scale
- 3 large egg whites
- 1/2 teaspoon cream of tartar
- 1 cup granulated sugar
- 18 saltine crackers (2 ounces), crushed
- 1/2 cup chopped pecans, plus extra for garnishing
- 1 teaspoon vanilla extract
- 1/2 cup heavy cream
- 2 tablespoons granulated sugar
- 2 tablespoons crushed pineapple
Instructions
- Lightly coat a 9-inch glass pie pan with nonstick spray and set aside.
- Add the egg whites and cream of tartar to a large glass mixing bowl and whip with a hand mixer on medium speed until frothy, about 2 minutes.
- With the mixer on medium speed, gradually stream in the sugar. Continue to beat the egg whites until stiff peaks form, about 8 more minutes.
- Gently fold the Saltine crackers, pecans, and vanilla into the meringue.
- Scoop into the prepared pie plate. Use a spoon or spatula to gently press the egg white mixture into an even layer that covers the bottom and sides of the plate, like a thick crust.
- Bake the pie crust until set but not browned, 20 to 22 minutes. The exterior will be dry and hard when lightly pressed, with a matte finish.
- Let the pie crust cool completely before making the topping, about 1 hour.
- Once the crust has cooled, whip the heavy cream until frothy using the whisk attachment on a stand mixer or a hand mixer, about 1 minute.
- Add the sugar and whisk on medium speed until medium peaks form, 5 to 6 minutes. The mixture will be doubled in volume with peaks that stand then fall over when you remove a beater.
- Gently fold the crushed pineapple into the whipped cream.
- Add the topping to the pie crust, smoothing it out. If desired, top with a little more pineapple and a sprinkle of nuts.
- Serve immediately.
Notes
- Store any leftovers in the refrigerator for up to 3 days.
- For added flavor, consider using toasted pecans.
- Experiment with different toppings such as caramel or chocolate drizzle.
- Prep Time: 15 minutes
- Cook Time: 22 minutes
- Category: Dessert
- Method: Baking
- Cuisine: American
Nutrition
- Serving Size: 1 slice
- Calories: 250
- Sugar: 16g
- Sodium: 80mg
- Fat: 12g
- Saturated Fat: 4g
- Unsaturated Fat: 8g
- Trans Fat: 0g
- Carbohydrates: 31g
- Fiber: 1g
- Protein: 3g
- Cholesterol: 40mg